How was this blog built
基于hexo framework, windows
Internet Environment related
npm源在国外,懂得都懂
配置代理或用cnpm/淘宝源
1 | |
然而hexo发展很快,cnpm可能跟不上,有条件最好用npm
Install hexo
1 | |
Init blog
在要创建博客的文件夹下
1 | |
这里会先clone仓库再安装依赖
如果卡git clone,检查下代理设置(npm,git)
如果卡install dependencies或者直接失败,一般还是代理问题。可以Ctrl+C先杀死进程,再:
1 | |
所以在赤旗插遍全球之前有些技能还是得掌握的(
Start blog
1 | |
比如:
1 | |
此时访问本地4000端口,可以看到hello world博客文章的界面:
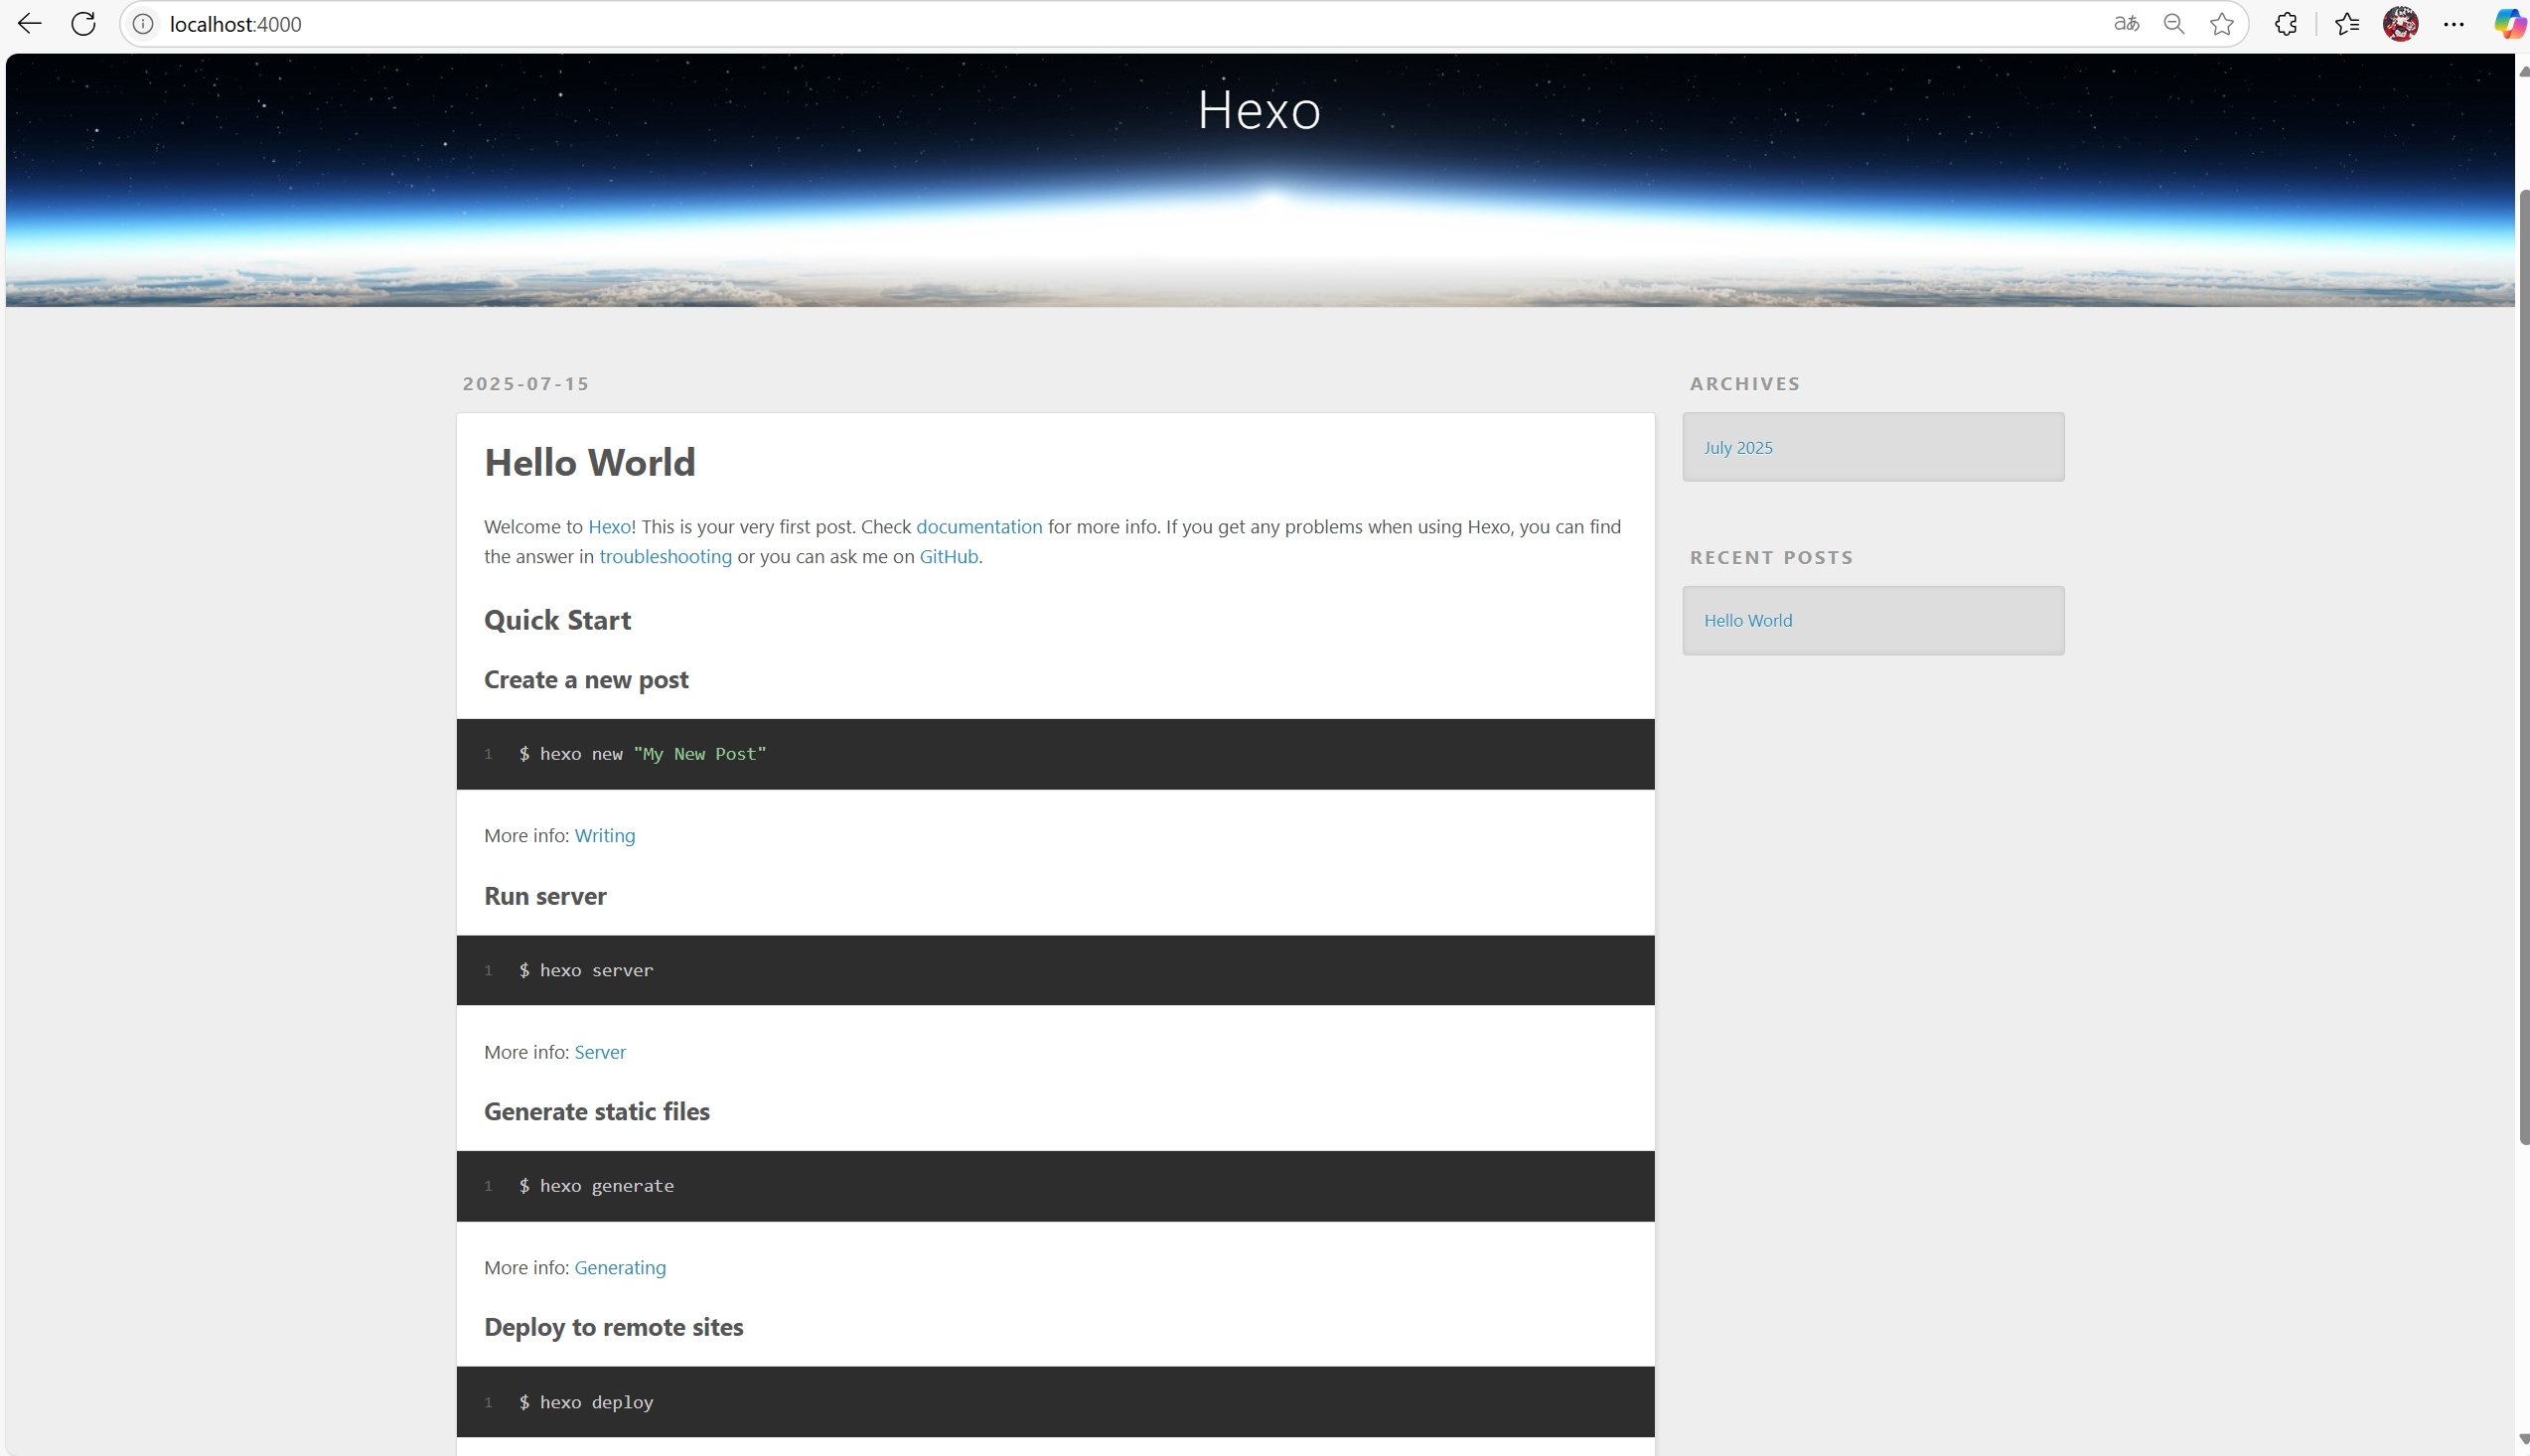
可用于预览博客在浏览器上的效果。
Create a new article
1 | |
比如:
1 | |
此时可看到\source\_posts\My-test-article.md文件已创建
现在对其进行编辑:

现在先回退到blog下,然后:
1 | |
启动看下效果:
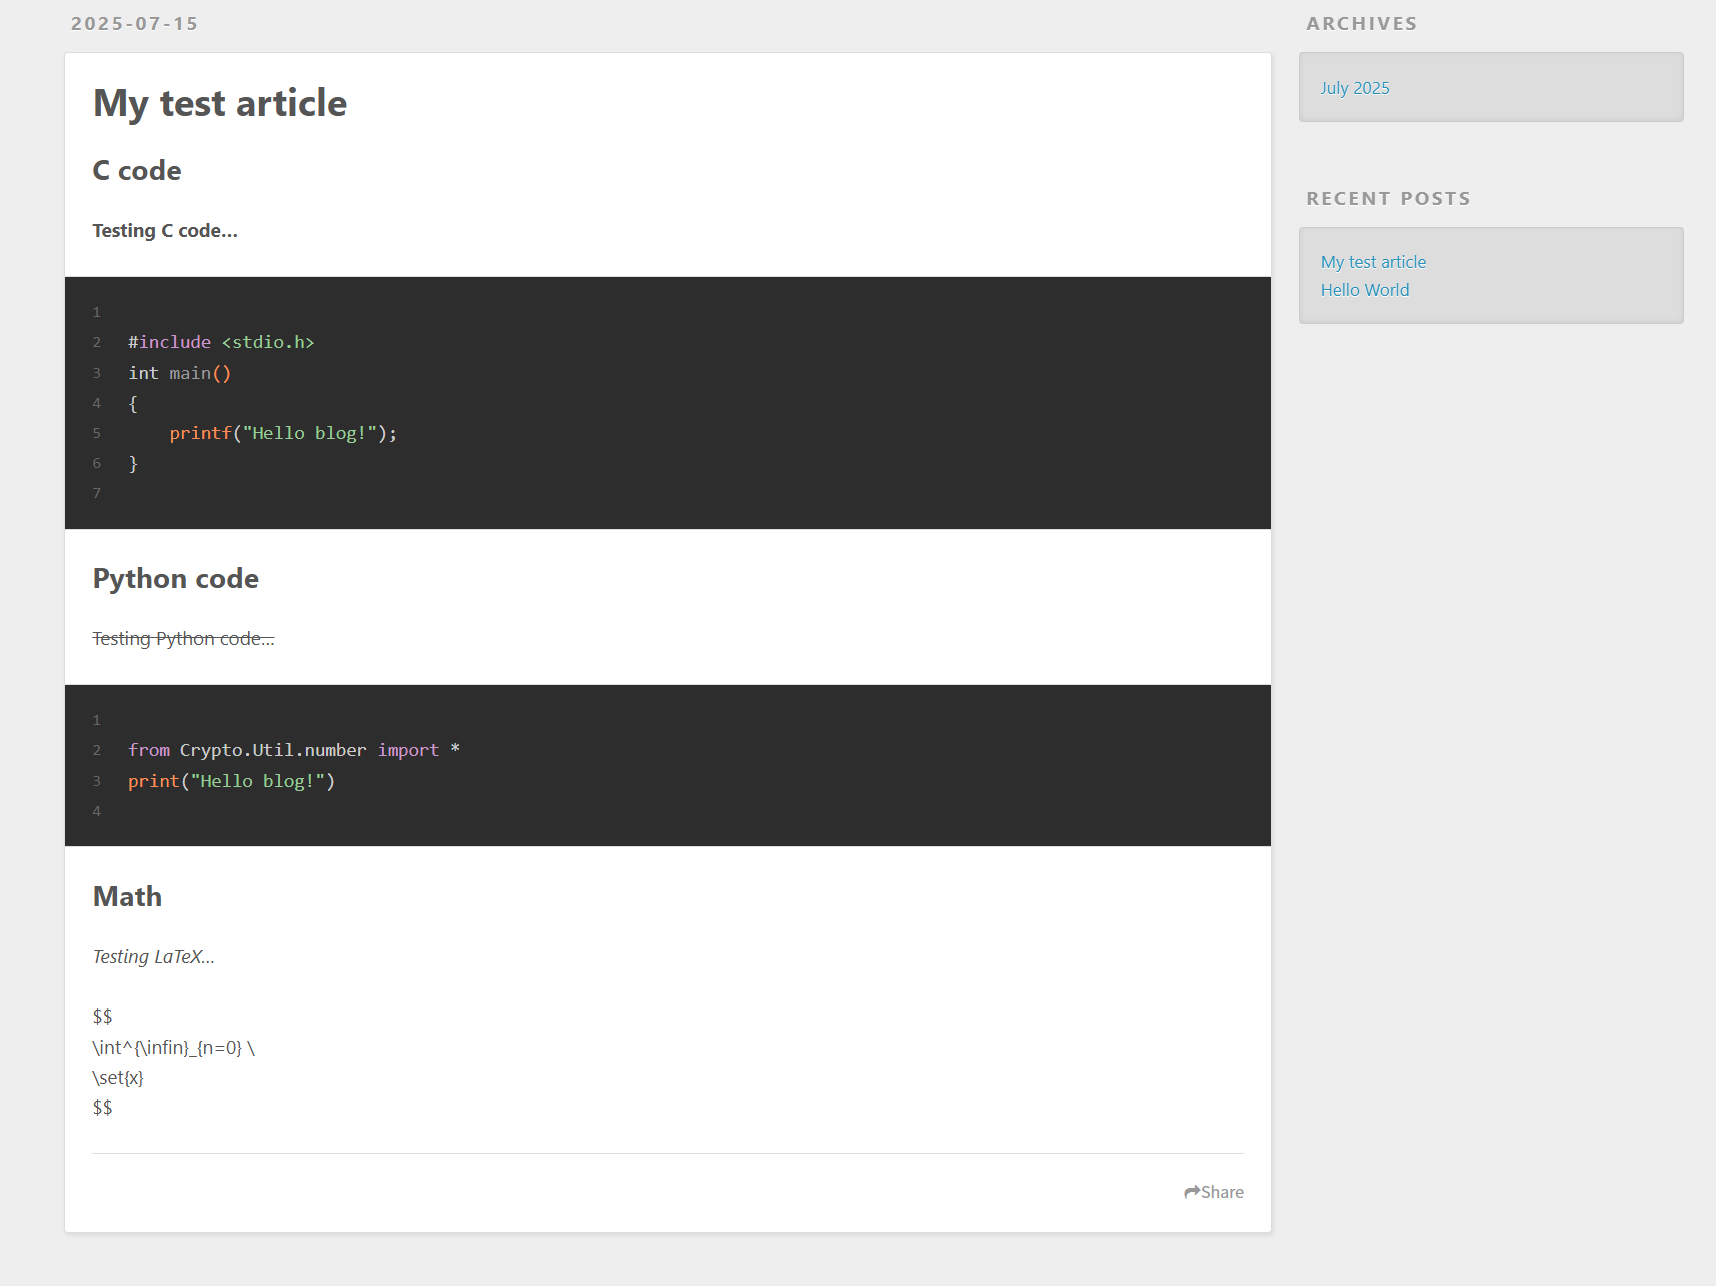
好吧貌似LaTeX没法渲染,研究下怎么弄。
draft
有时候不希望直接发布写了一半的草稿,这时可以使用命令:
1 | |
来创建新草稿,内容在source/_draft文件夹。
正式推送:
1 | |
预览时渲染草稿:
1 | |
deploy the blog
没有服务器那只好部署到github了
创建一个New repository, 名称为nickname.github.io
下载git部署插件:
1 | |
配置_config.yml,底部deploy:如下配置:
1 | |
然后
1 | |
部署,就会自动将渲染好的博客前端push向仓库
通过nickname.github.io 这个域名来访问即可
custom theme
先套github主题后面慢慢玩吧。
用了一下fluid主题,挺喜欢的,那就你了。
按照主题官方文档配置可以支持LaTeX,mermaid等。
update pictures
关于Hexo+Typora工作流中上传图片的问题:
How was this blog built
https://murasame-mio-misaki.github.io/2025/07/15/Blog/